Tips & Tricks For Taking Amazing iPhone Photos
May 27, 2021
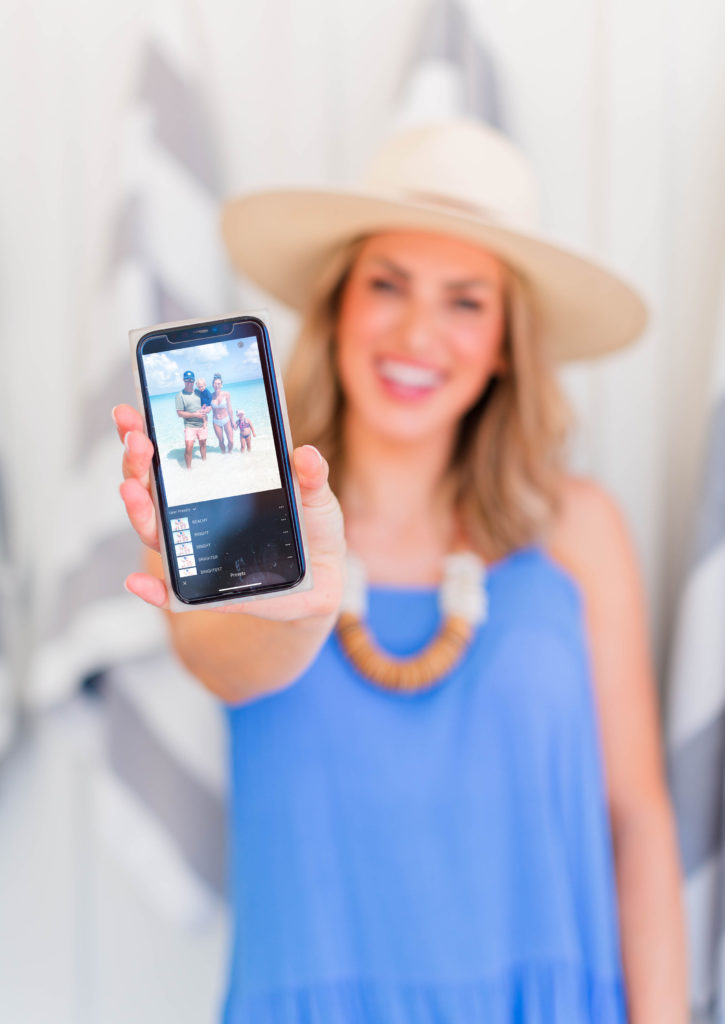
If a picture is really worth a thousand words, you better make it great, right?! Say hello to iPhone cameras and presets and so long to big lenses and professional camera equipment – it’s almost too good to be true! Hallelujahhh!
The majority of my photos come straight from my iPhone… it’s so simple. Below I’m sharing a few of my personal tips and tricks when it comes to taking good-quality iPhone photos just in time for Memorial Day weekend. Speaking of Memorial Day, I’m having a super exciting EVA SHOCKEY PRESET SALE starting today through Monday. Trust me, you need these presets… they are a game changer. You can thank me later.

EVA’S TIPS AND TRICKS FOR IPHONE PHOTOS:
- Lighting, Lighting, Lighting!
A rule of thumb for me has always been to avoid taking photos when there is direct sunlight or bright lighting on my face. This will create super harsh shadows and alooooot of squinting. I’ve learned (and been told) that the best lighting for iPhone photos is bright overcast, open shadow, or even fog!
If you DO find yourself taking photos in the direct sunlight (which is basically inevitable in the summer), you will always have the option to manually adjust the photo yourself by playing around with the exposure and lighting.
2. Portrait Mode
When you use the portrait mode on your phone, it actually creates a depth-of-field effect which keeps your subject sharp while blurring the unwanted background. Of course, if you’re in a tropical destination or WANT people to see your background, there are other modes you can use. But, I love portrait mode because the overall quality is so much clearer.
Pro tip: when the depth effect box turns yellow, snap your photo
3. Use the GRID
To create a well balanced / appealing photo, I love the GRID feature offered on all iPhones! By using this feature, the most important part of your photo shows up on the intersections and lines so you can easily visualize placement.
To enable the grid on your camera, go to settings –> camera –> composition –> toggle on grid.
4. Stay FOCUSed
This one may seem like a no-brainer, but using the focus feature will truly elevate the quality of a photo. No more BLUR! Most of the time, the focus will be automatically sharp when taking an average photo. However, if you’re taking a close-up pic, you’ll need a specific / smaller part of the photo to be sharp.
The solution is simple! Just tap your screen and place the yellow square in the area you want to be in focus.
5. Better Selfies
I always HATED when the front camera would flip my selfies after taking them. I know that’s technically how it works, but my face would never look the same once it flipped! BUT… now there’s a new setting to change the front mirror camera so you no longer have to worry! YAY.
To change this, go to settings –> camera –> toggle the switch for mirror front camera to ON. Ta-da! Now your selfies will turn out just the way they appear to you on the screen.
6. EVA SHOCKEY PRESETS!!! *CURRENTLY 20% OFF*
First of all…. let me start out by saying: YOU NEED THESE.
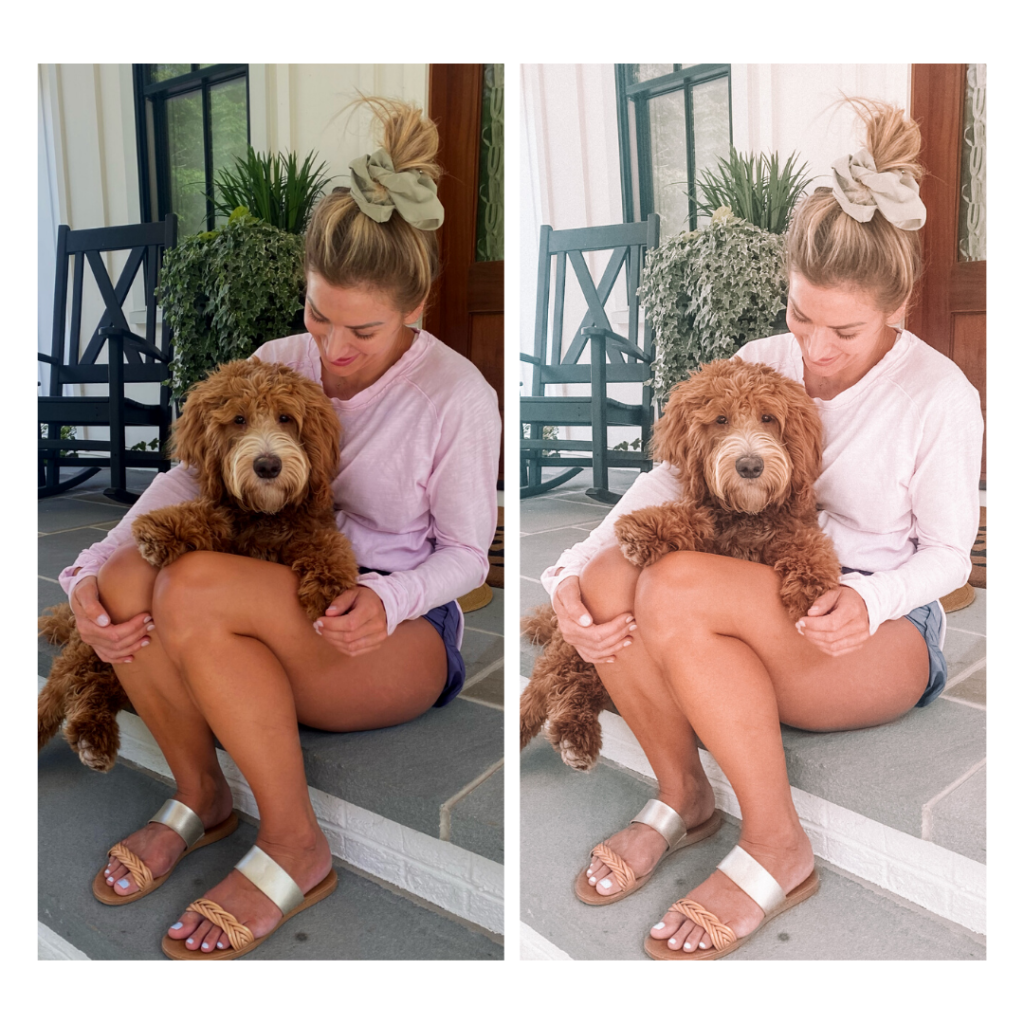
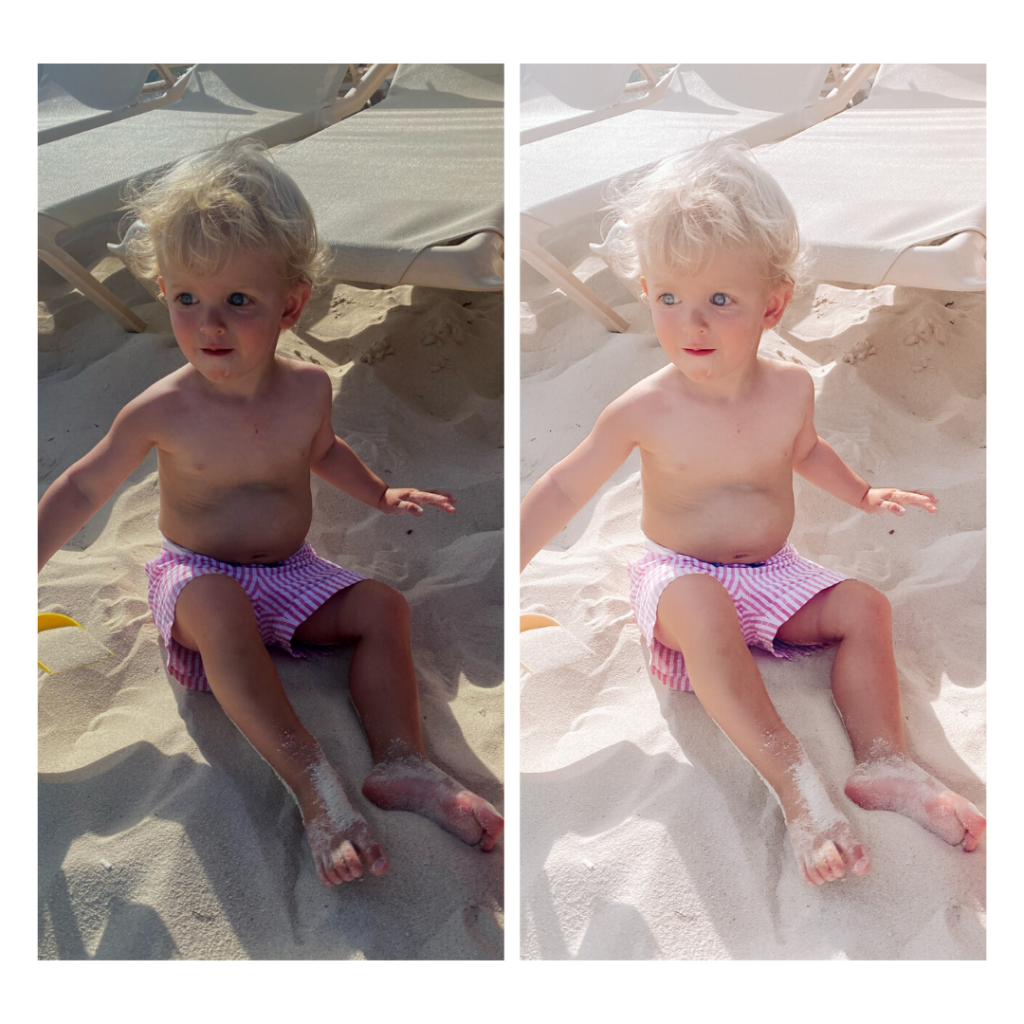
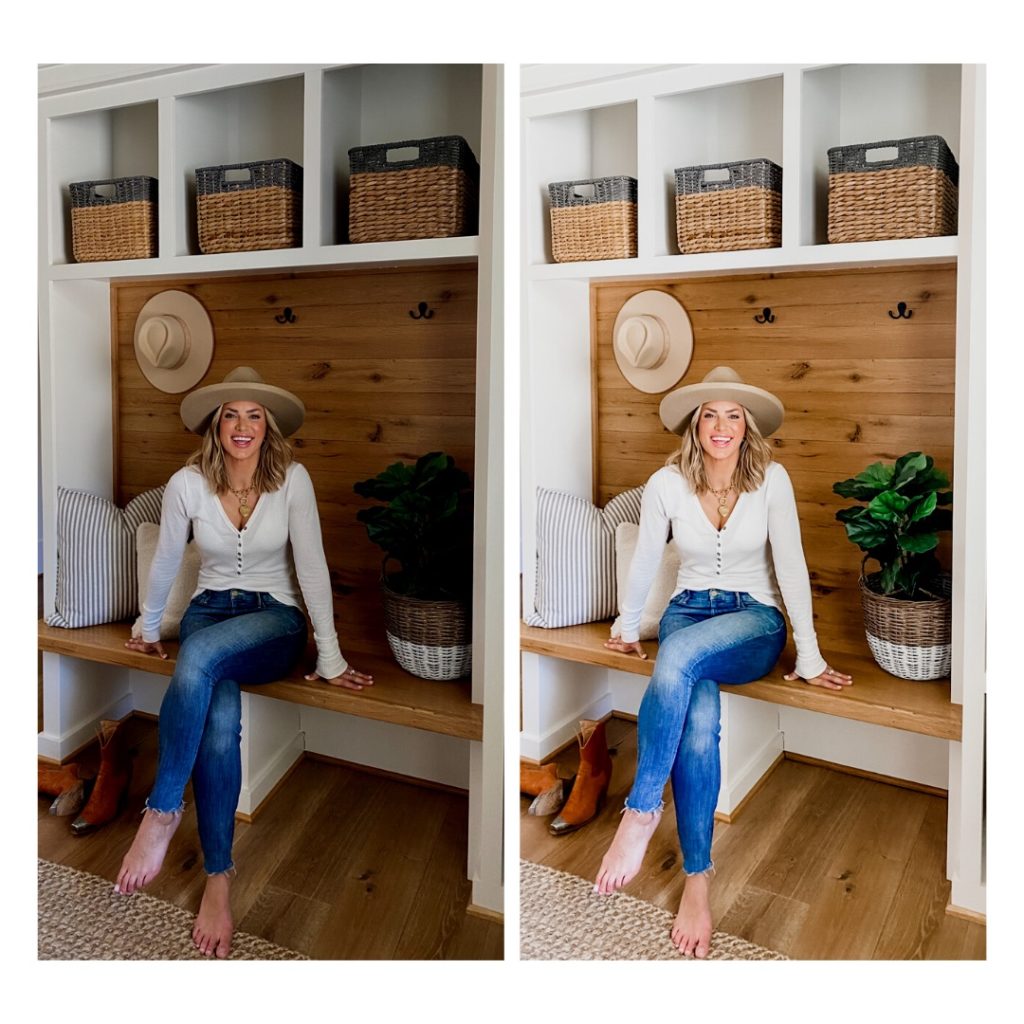
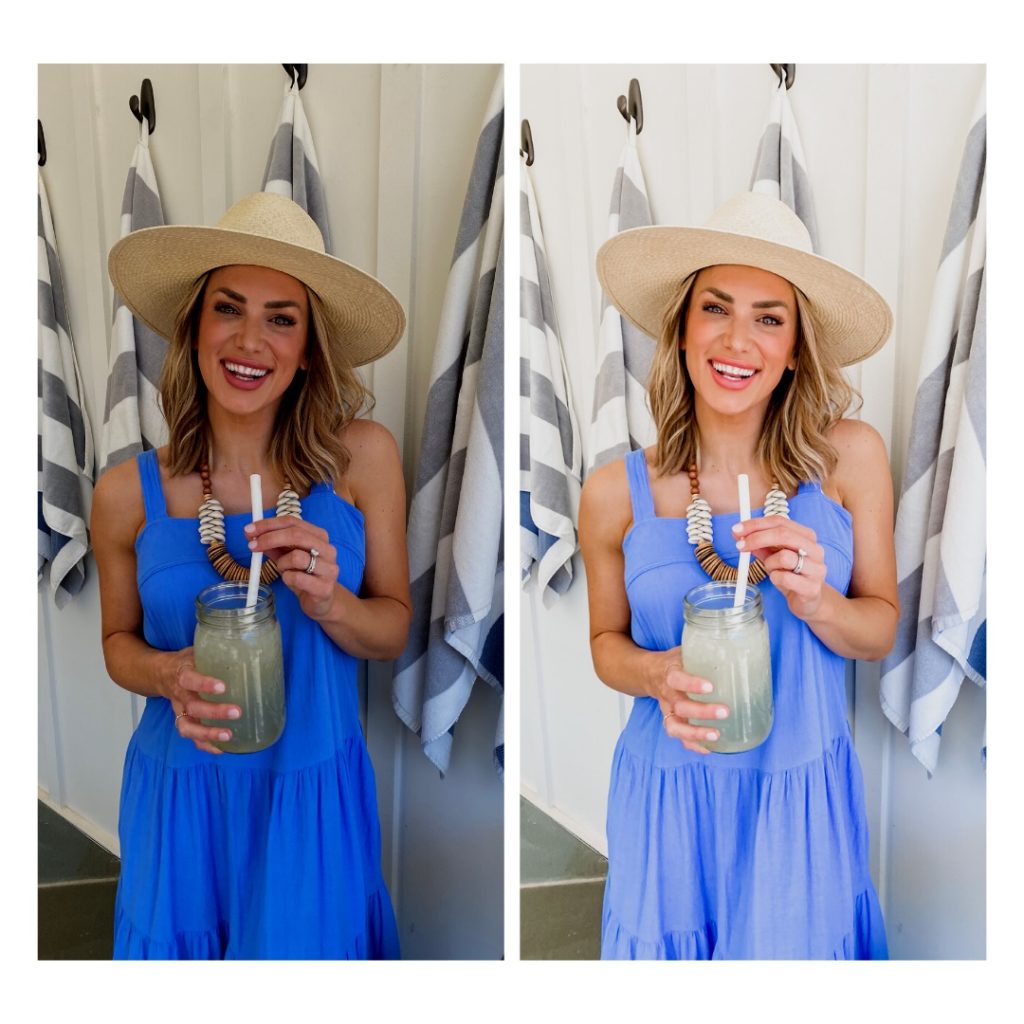
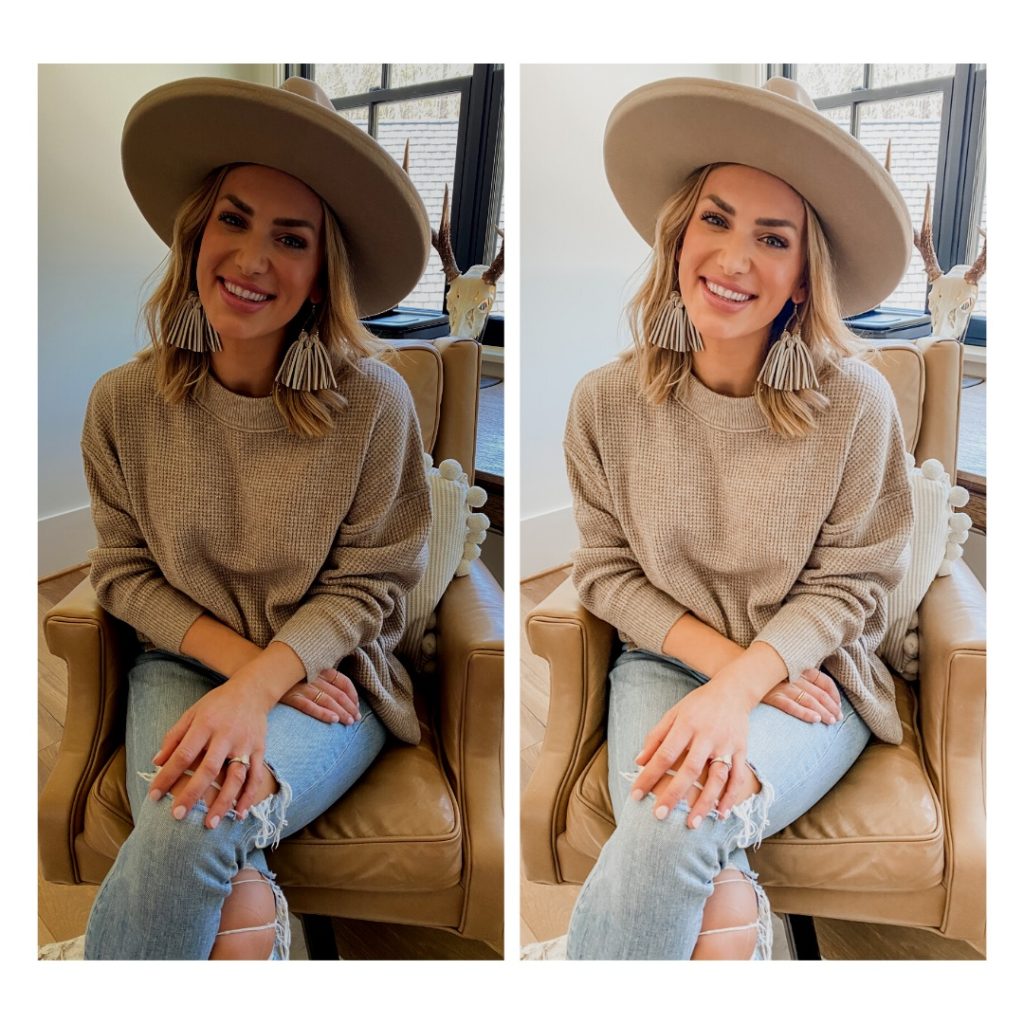
Whether you want to perfect that eye-catching IG grid, amplify your biz with cohesive branding or create a beautiful gallery wall with alllllll your favorite pics, the Eva Presets WILL give new life to the photos sitting in your camera roll with one, simple click.
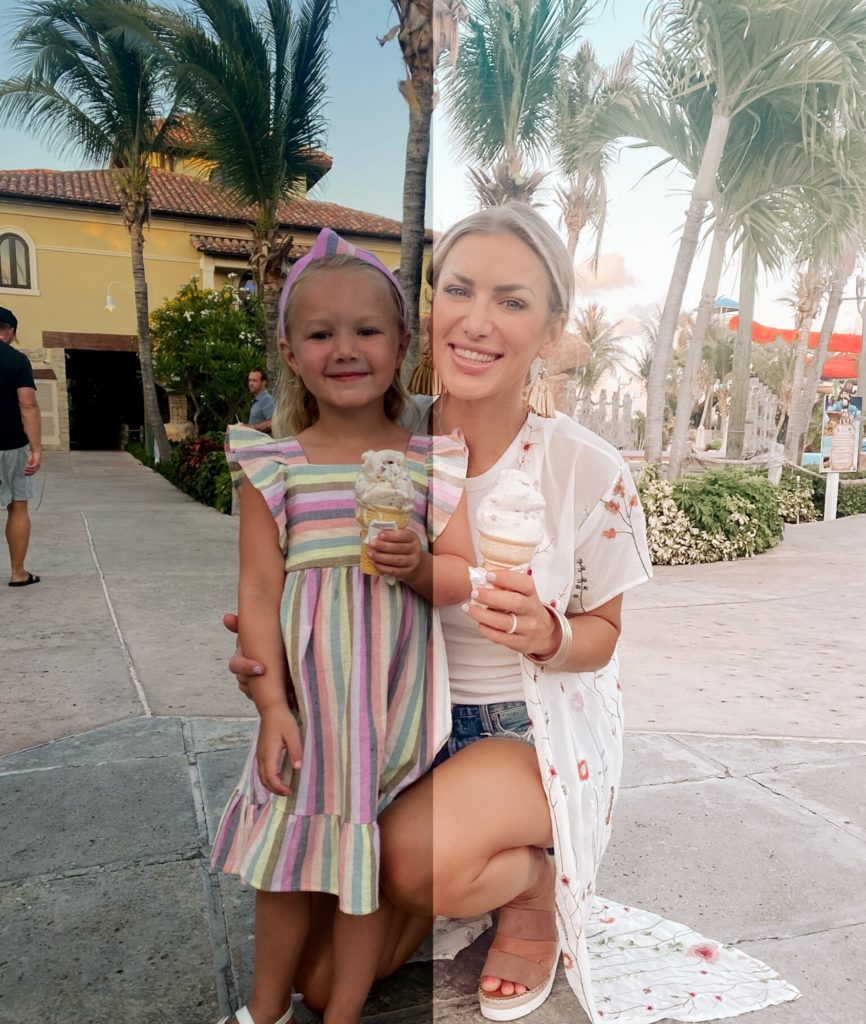
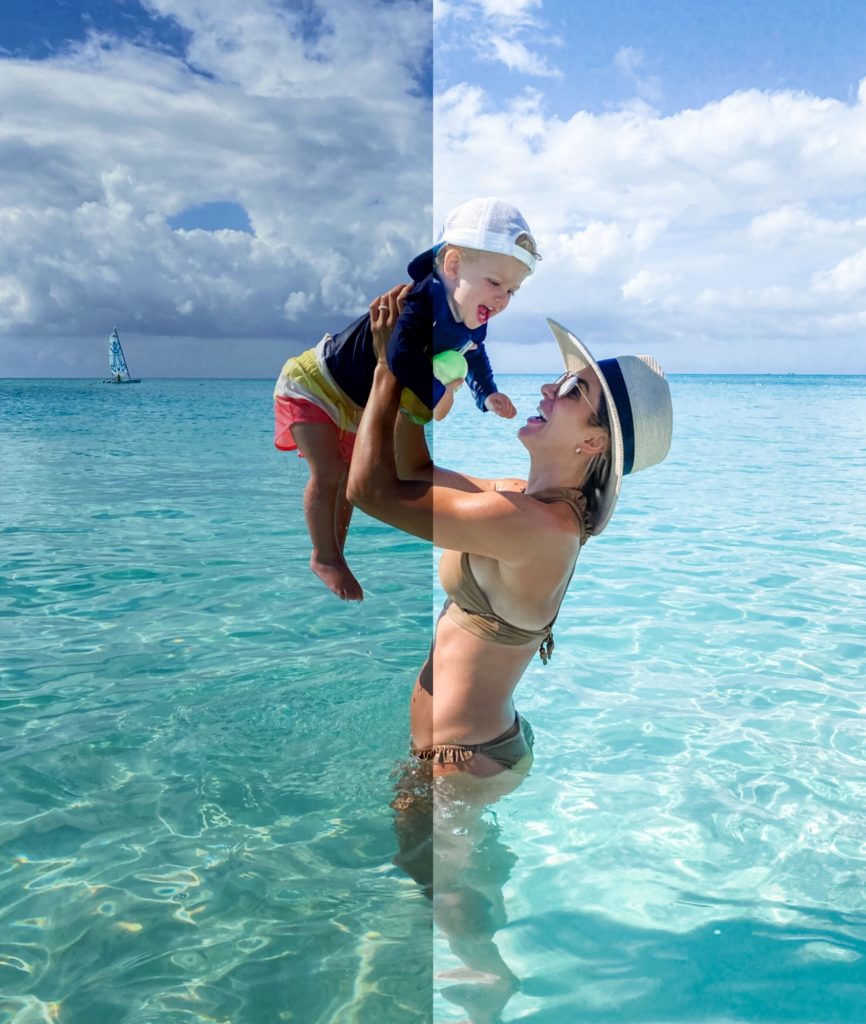
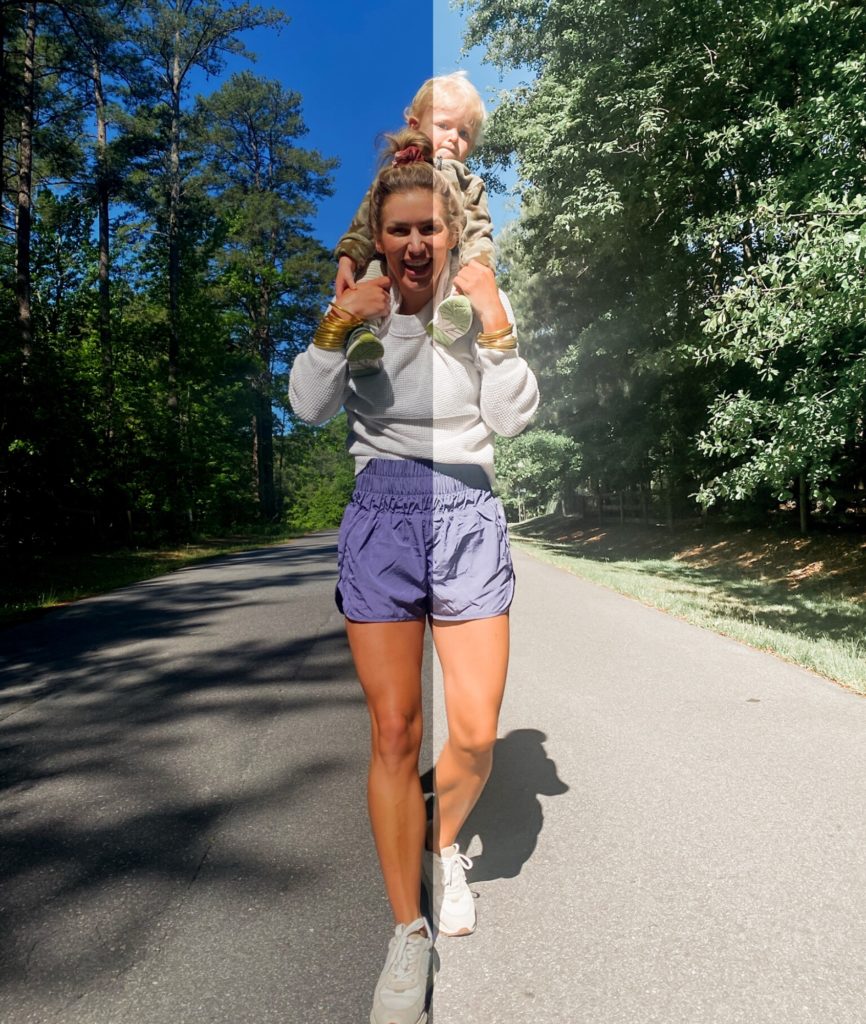
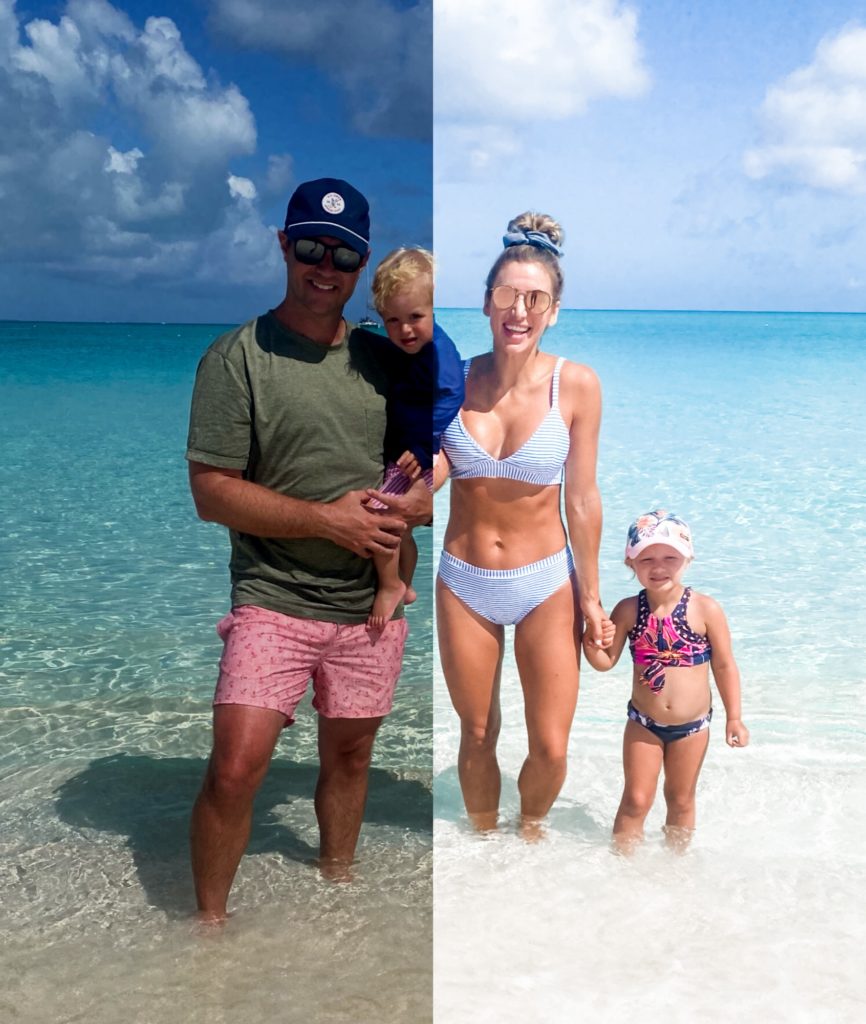
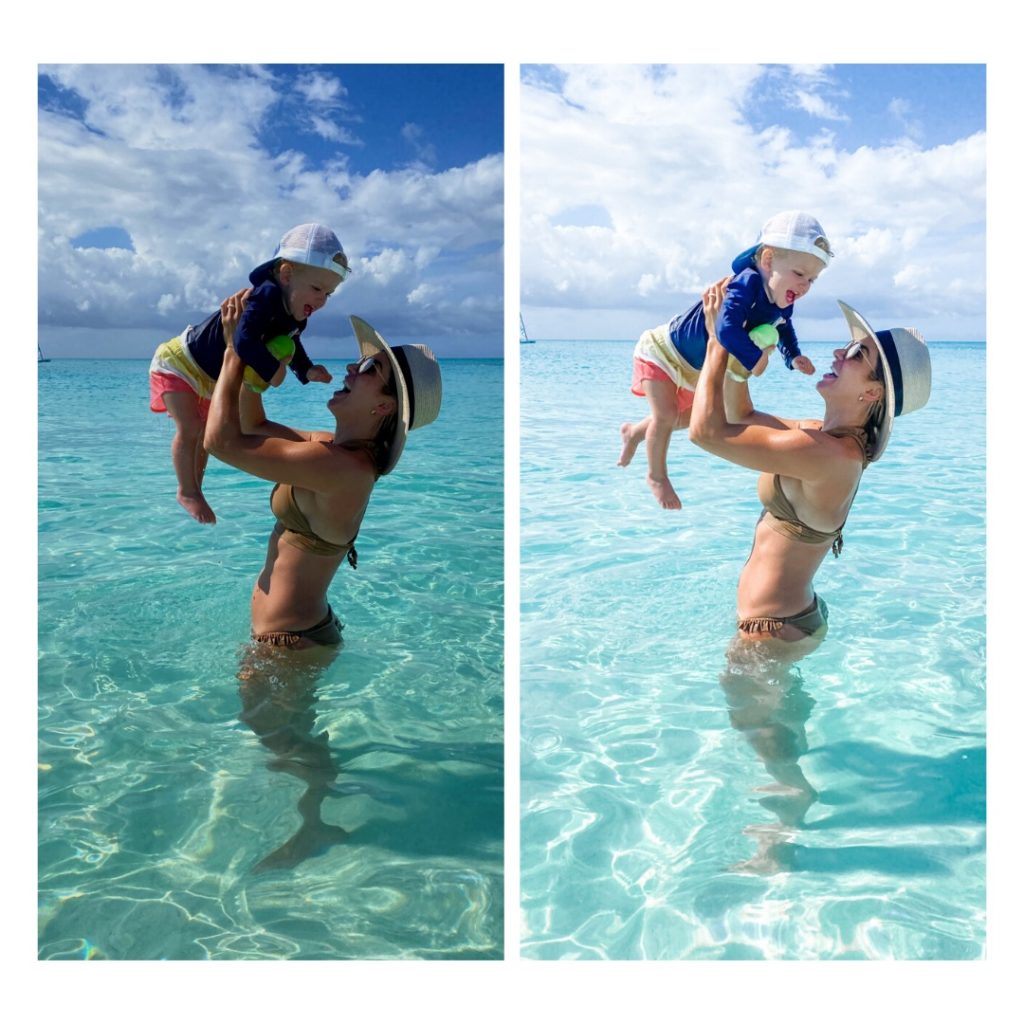
With 10 unique photo presets included, there’s the perfect option for every picture on your phone. Want to make a “blah†photo pop? Try the “Bright†preset! Looking for a more neutral tones, use the “Vintage†preset. We all take photos to capture moments and memories, and these presets will elevate and amplify those to the fullest.
I’ve spent the last few years upping my photo game and curating my IG grid with these exact filters! I use these every single day and I packaged these 10 easy-to-use presets so YOU can too!!
Here are some examples. You’ll be amazed by the quality differences:
Keep everyone in the loop by sharing this post:
Leave a Reply Cancel reply
Design by Raise Your Words Design. Photography by Brynn Gross Photography. Designed with Showit.
Terms & Conditions
Privacy Policy

Drop a comment & let me know what you think!