Beginner Bow Shooting Tips for Better Accuracy
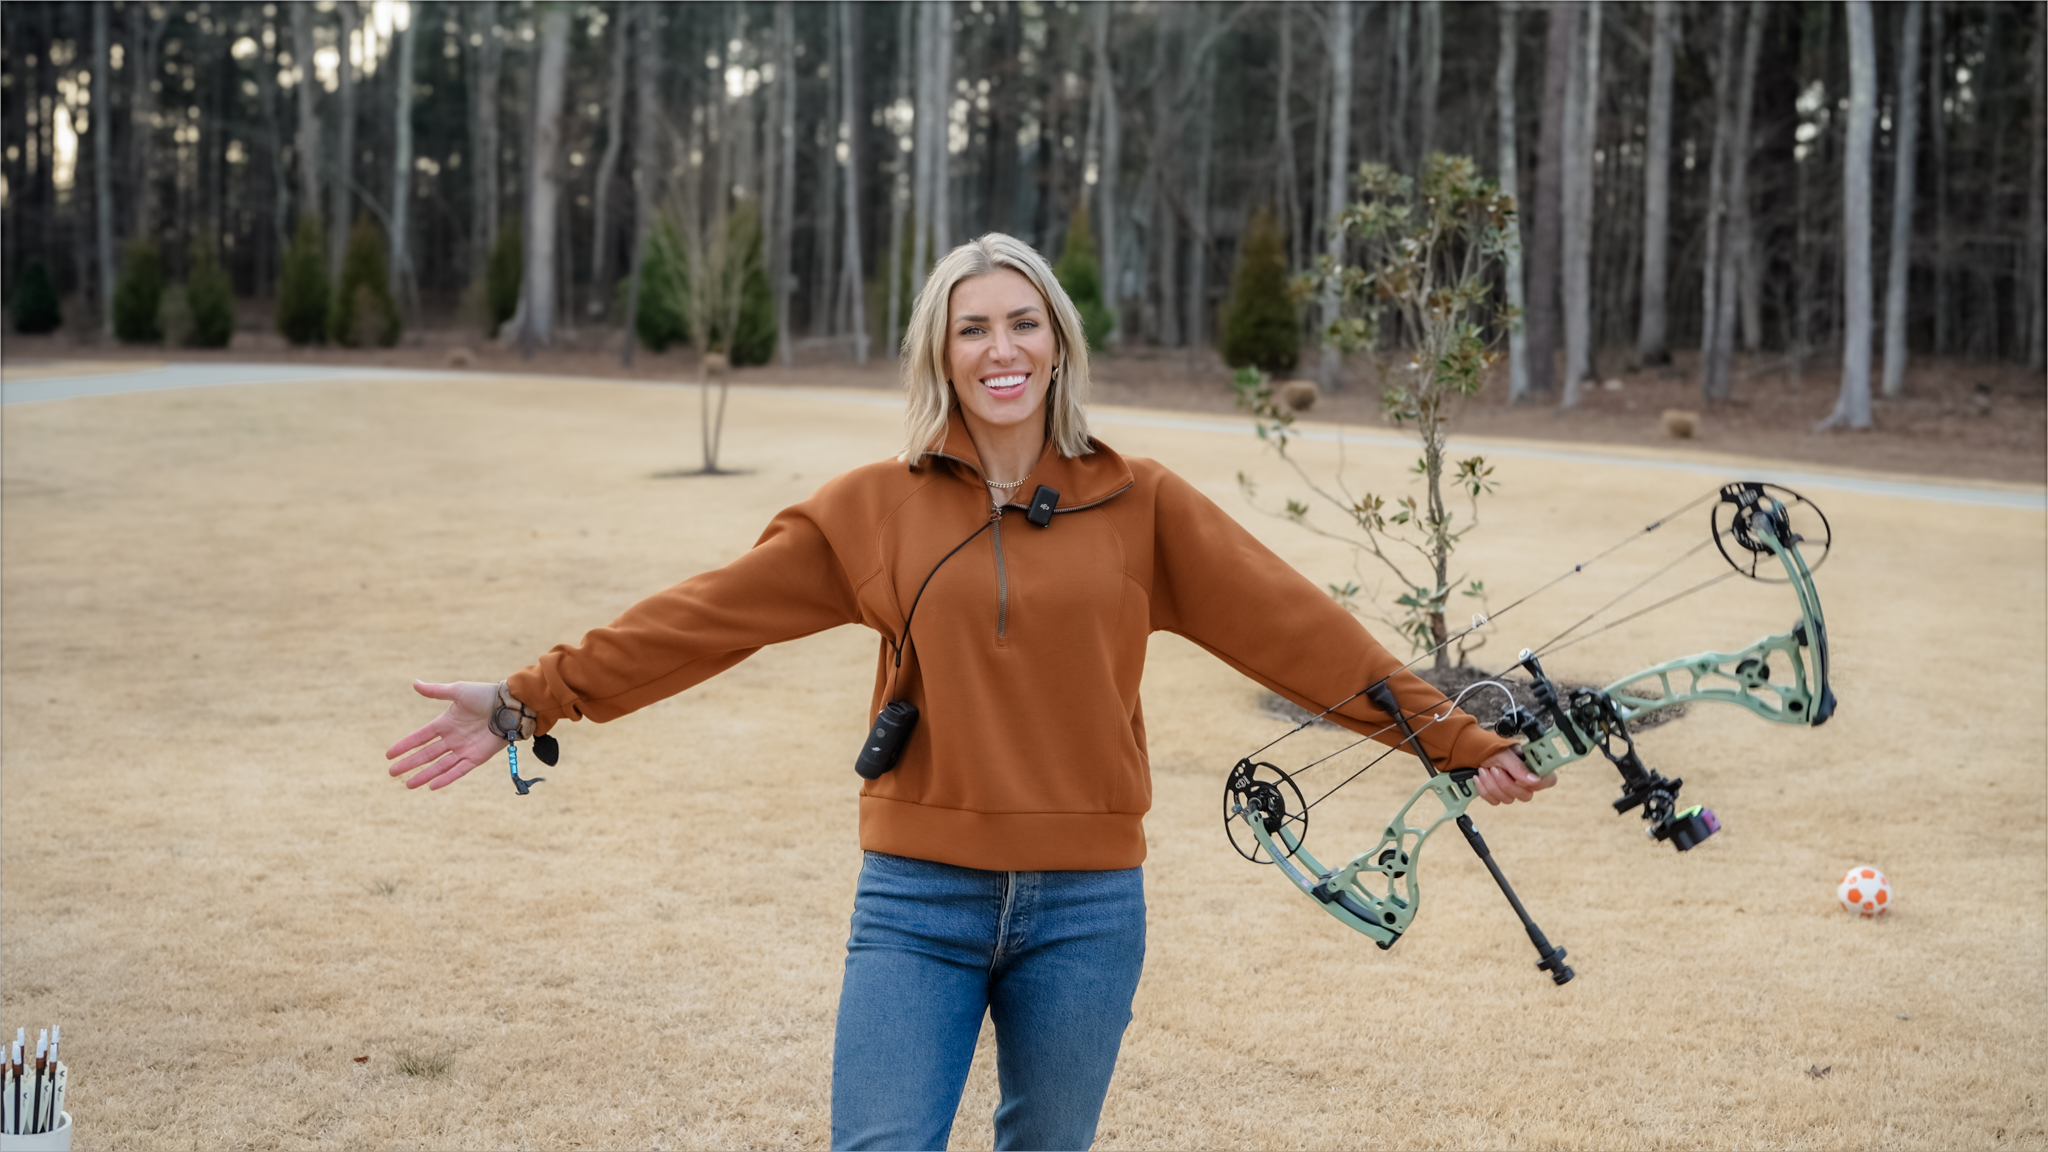
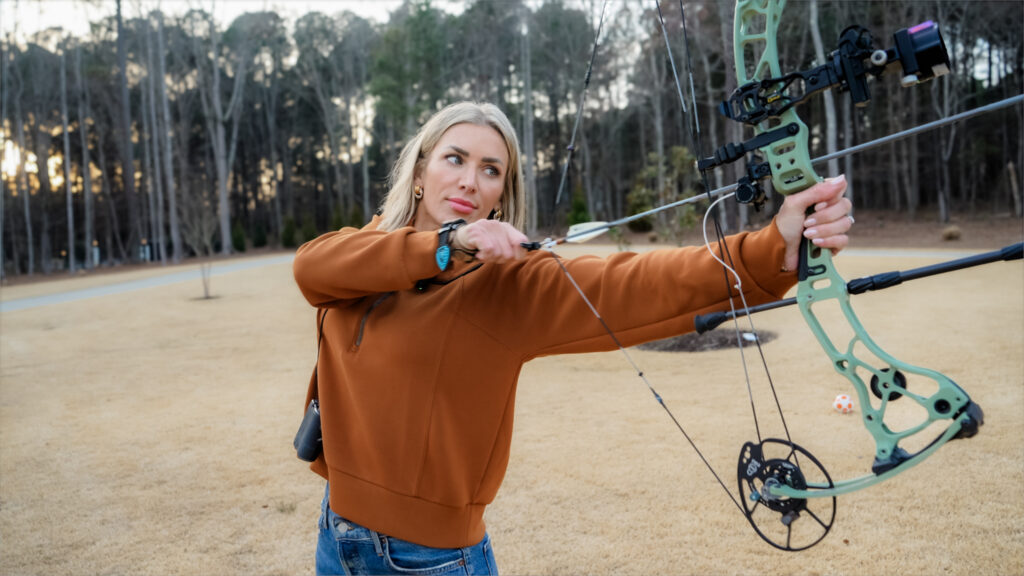
I’ve been out shooting my Eva Shockey Gen 3 bow from Bowtech, and I wanted to share some of the biggest beginner bow shooting tips that I wish everyone knew when they first started.
It’s crazy to think that I’ve been shooting for over 25 years now, ever since I was a little girl, and even after all this time I still make bad shots sometimes. But there are a few simple things I always focus on to stay consistent, especially in hunting situations when every shot matters.

So if you’ve ever wondered:
- How do I get started shooting a bow?
- What equipment do I actually need?
- How do I shoot more accurately?
- What are the most important beginner mistakes to avoid?
…you’re in the right place.
And if you want to see all of these tips in action, make sure you check out the full YouTube video below where I break everything down step-by-step while shooting.
First Things First: Your Bow Must Fit You
One of the biggest misconceptions beginners have is thinking you can just grab someone else’s bow and start shooting. BUTTTT you can’t really do that.
Your bow should be fitted specifically for:
- Your draw length
- Your strength
- Your height
- Your comfort level
For example, I couldn’t shoot my husband Tim’s bow because his draw length is much longer than mine. PLUS if someone has a heavier draw weight than you can comfortably pull back, it’s going to make shooting frustrating and inconsistent.
The best thing you can do when starting out is visit a local bow shop or Bass Pro/Cabela’s and get professionally fitted. Trust me, it makes all the difference.
And if you’re curious about my exact setup, I also put together a full breakdown of my Eva Shockey Gen 3 bow, including my sight, stabilizer, arrows, and everything else I personally use. You can check that out here.
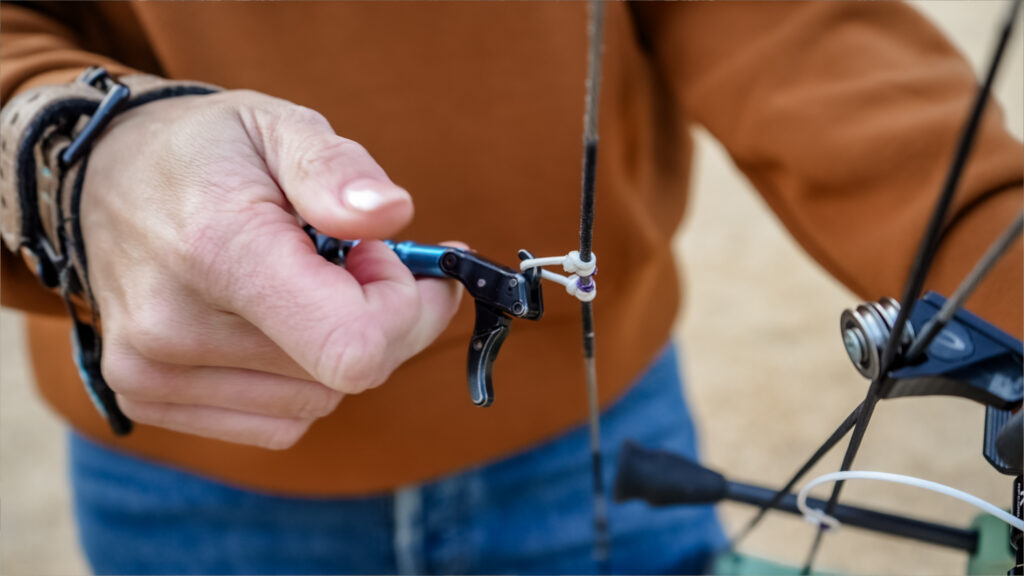
Trigger Release vs. Thumb Release
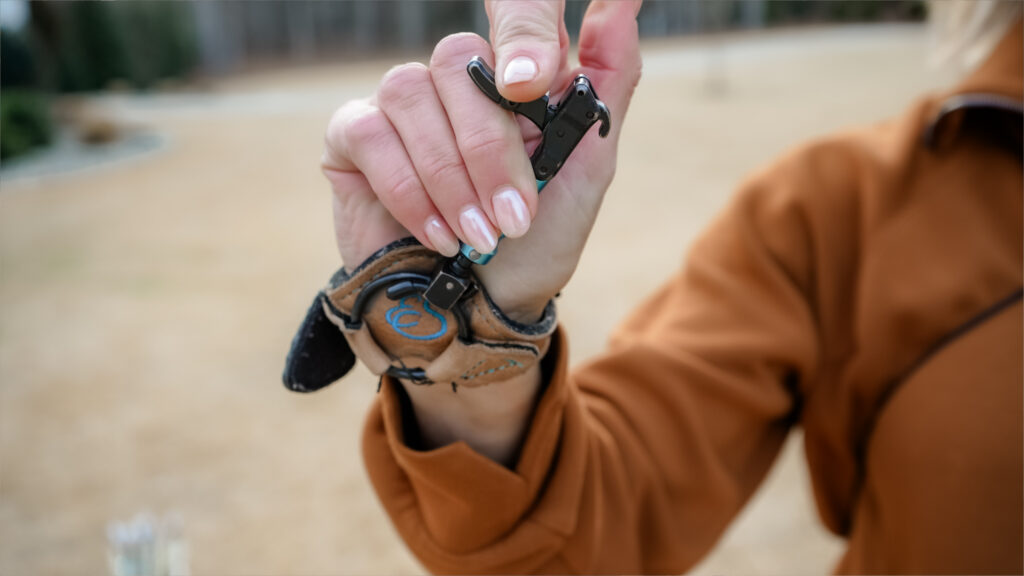
Before you start shooting, you’ll also need a release. I personally shoot this trigger release from TruFire that straps onto my wrist, but there are two main styles:
Trigger Release
- Attaches to your wrist
- Trigger activated with your finger
- Easy to keep secure while hunting
- Great for beginners
Thumb Release
- Fits in the palm of your hand
- Activated with thumb pressure
- Popular with many experienced archers
This honestly comes down to personal preference. I’ve always shot a trigger release, so it feels the most natural to me. But plenty of people love thumb releases too. The key is finding what feels comfortable and repeatable.
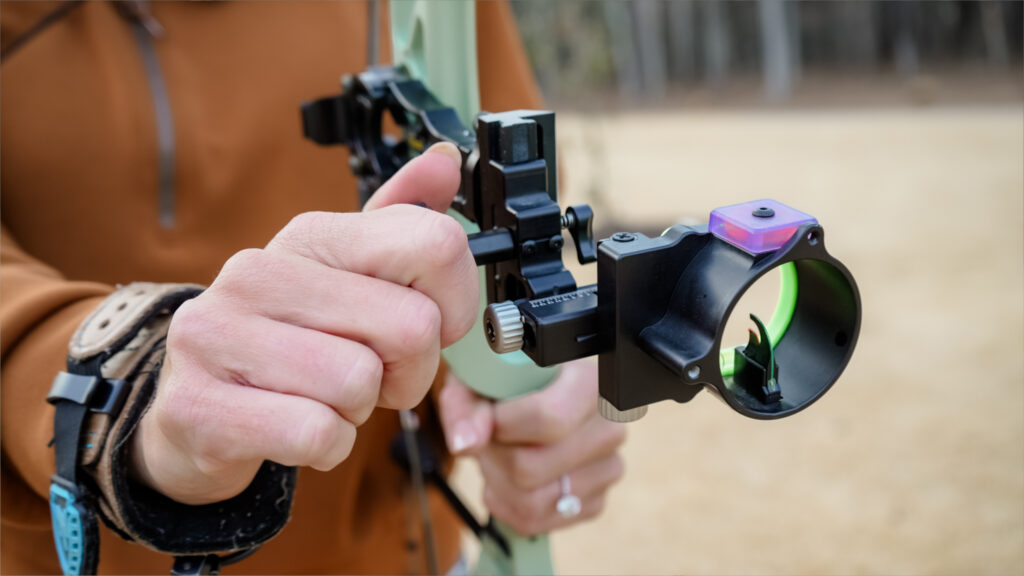
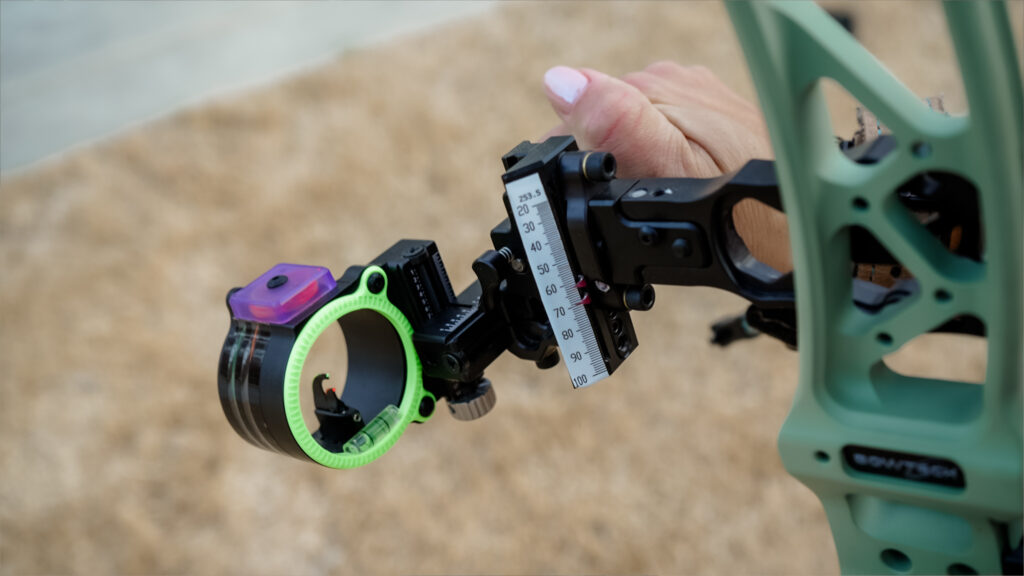
Choosing the Right Bow Sight
Your sight setup can make shooting feel either super simple or incredibly overwhelming. There are two main styles:
Fixed Pin Sights
Multiple pins set for specific distances like:
- 20 yards
- 30 yards
- 40 yards
Adjustable Sights
These allow you to dial distances in more precisely.
I personally prefer this adjustable sight by Blackgold because it keeps things simpler visually. Mine only has two fixed pins plus adjustable distance control, which helps me focus better and shoot farther more confidently.
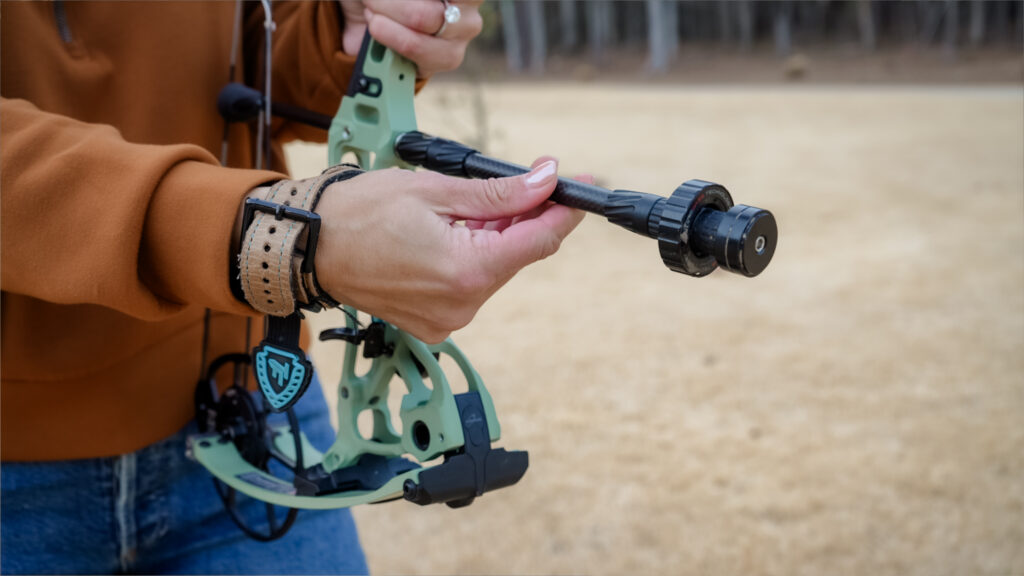
Why a Stabilizer Matters
That long rod attached to the front of the bow? That’s your stabilizer. On my bow, I have the 6 inch Bowtech CenterMass Stabilizer and the 6 inch Bowtech CenterMass Universal Back Bar Mount. This pairing is pure gold!
A stabilizer helps:
- Balance the bow
- Reduce vibration
- Keep your sight picture steadier
There are also vibration dampeners throughout the bow that help absorb shock when you shoot. Small details like this can make your bow feel much smoother and more comfortable.
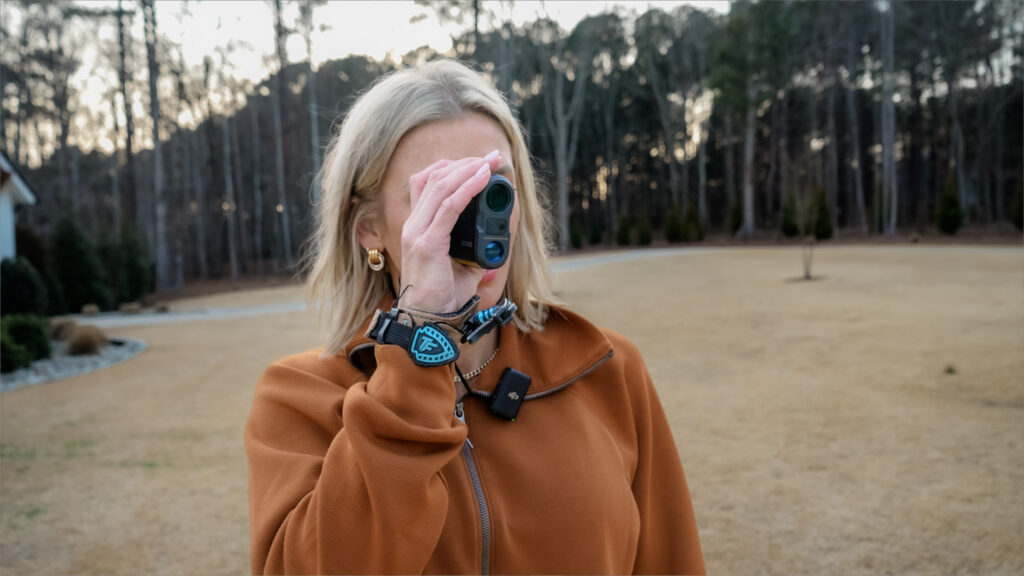
Don’t Forget Your Rangefinder
If you’re shooting a bow, distance matters. A lot. A shot at 20 yards is completely different than a shot at 60 yards. That’s why a reliable rangefinder is one of the most important pieces of gear you can own.
I’ve personally used Leupold optics my entire life and I SWEAR by all their products. Whether I’m practicing or hunting, I always want to know the exact distance before taking a shot.

Practice Equipment You’ll Need
Here are a few basics you’ll want when practicing:
A Target: I use a block target from Bass Pro Shops, but there are lots of great options available.
Arrows: Your arrows should match your bow setup and be cut to your specific draw length. I use the Gold Tip AirStrike Arrows. These carbon arrows are SUPER lightweight.
Things like:
- Arrow length
- Spine
- Weight
…all matter. And yes, get more arrows than you think you need. You will lose a few eventually. TRUST ME.
Bow Shooting Safety Basics
This part might sound obvious, but I’ve genuinely had people ask me this before.
A bow sitting undrawn is not dangerous. But once it’s drawn back, it becomes a weapon.
That means:
- Always be aware of your surroundings
- Practice proper safety rules
- Be extra careful teaching kids
- Never point a drawn bow somewhere unsafe
Proper Shooting Form for Beginners
Now let’s talk about the actual shot process.
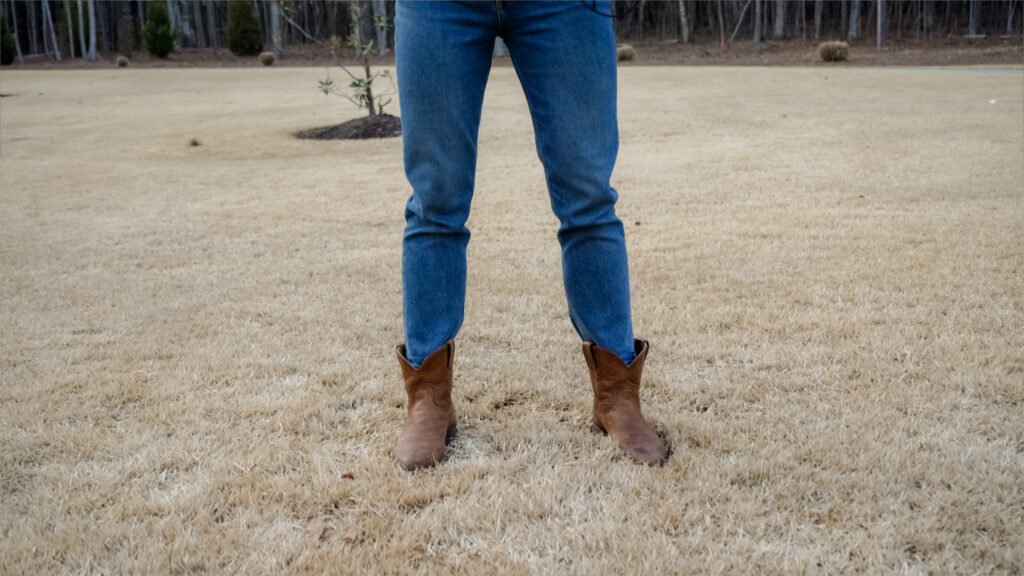
1. Set Your Feet
Stand about shoulder-width apart so you feel balanced and stable.
2. Hook Your Release to the D-Loop
If using a trigger release, I like keeping my finger behind the trigger while drawing back so I don’t accidentally fire.
3. Draw Using Your Back Muscles
Pull smoothly and steadily.
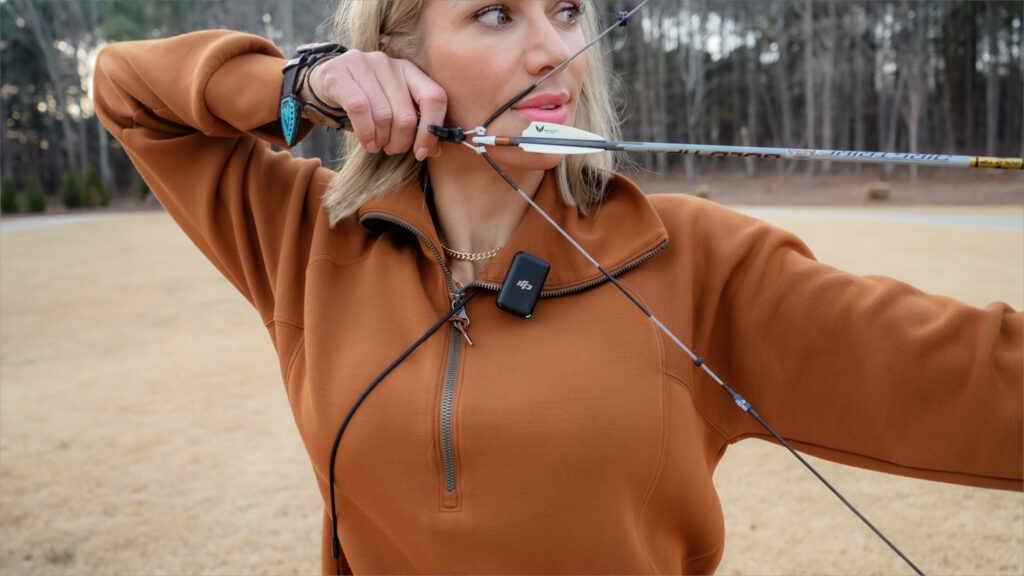
4. Find Your Anchor Point
This is HUGE.
Your anchor point is where your hand consistently rests against your face every single shot. Consistency here is what creates accuracy. If your anchor point changes even slightly:
- your arrow impact changes too
- especially at longer distances
5. Check Your Bubble Level
Most sights include a small bubble level. You want the bubble centered so your bow stays level during the shot.
6. Focus Through the Peep Sight
You’ll look through the peep sight and align it with your front sight pins.
7. Squeeze the Trigger
Don’t jerk it. Smooth pressure creates cleaner shots.
8. Follow Through
After the shot:
- don’t instantly drop your bow
- stay steady
- watch your arrow hit through your site and let your bow fall forward naturally
That follow-through matters more than most beginners realize.


The Best Part About Archery
Here’s something I tell people all the time:
You do not have to hunt to enjoy shooting a bow. Archery itself is incredibly fun.
It’s challenging, rewarding, and addictive in the best way.
So even if you never plan on hunting, I still highly recommend going to your local bow shop and trying it out. There’s a really good chance you’ll get hooked.
Final Tips
There are endless opinions out there about shooting styles, stance, grip, anchor points, and technique.
And honestly? We’re all still learning. These are simply the tips and habits that help me shoot more consistently and confidently after years of doing this.
If you’re just getting started, focus on:
- being safe
- building consistency
- practicing often
- and having fun with it
Good luck out there and have the best time.
And if you haven’t already, make sure you watch the full YouTube video that goes along with this post because I walk through all of these beginner bow shooting tips step-by-step while actually shooting. It’s the best way to see everything in action.
I’d also love to know what other archery or bow hunting topics you want me to cover next, so leave me a comment below.
Bow Setup Recap
- Bow – Eva Shockey Gen 3 bow
- Site – Black Gold Dual Trac Sight
- Release – TruFire
- Rest – Ripcord Drop Away Rest
- Stabilizer – Bowtech CenterMass Stabilizer
- Rangefinder – Leupold optics
- Arrows – Gold Tip AirStrike Arrows
- Broadheads – G5 from Cabelas


-2")
Drop a comment & let me know what you think!