Garage Organization That Actually Works

The Garage Makeover I’d Do Over and Over Again
We made three major upgrades in our garage this summer (Don’t worry, I have codes to share with y’all for each one!) and I never thought I’d say this… but my garage might actually be one of my favorite spaces in our home.
I know. A garage. Who am I?!
But if you’ve ever stood in yours staring at the chaos… kids’ toys, sports gear, hunting equipment, and your husband’s ever-growing collection of things (hi, Tim’s golf shoes…) then you get it. It becomes overwhelming fast.
So, I finally said: enough. We’re doing this right. And now? It’s the organizational garage of my dreams and honestly, I’d do this makeover again in a heartbeat.
Everything in our garage needed a home. I feel like it was bursting at the seams!
Not a “toss it in the corner and deal with it later” kind of home… but a real, functional system that makes life easier. Because, let’s be honest, if it’s not easy to maintain, it’s not happening. Especially with kids.
I wanted to walk you through this entire garage makeover step-by-step, so you can see how everything functions together in real life not just how it looks. Check out my full garage makeover YouTube Video below!
The Game-Changer: Levrack Storage System
Let’s start with the MVP.
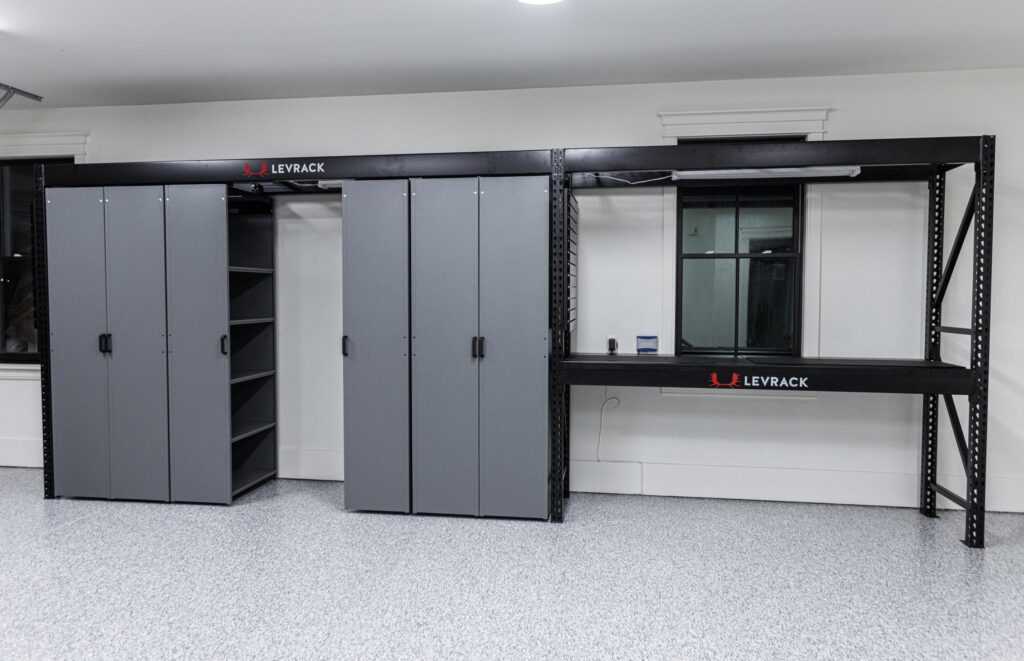
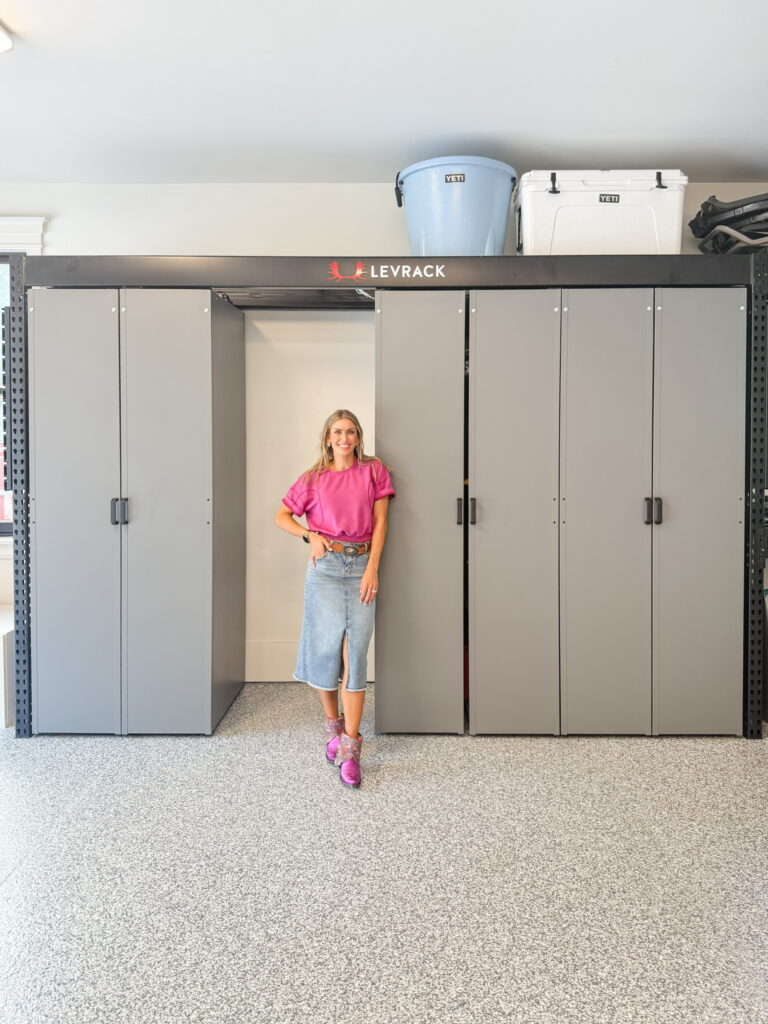
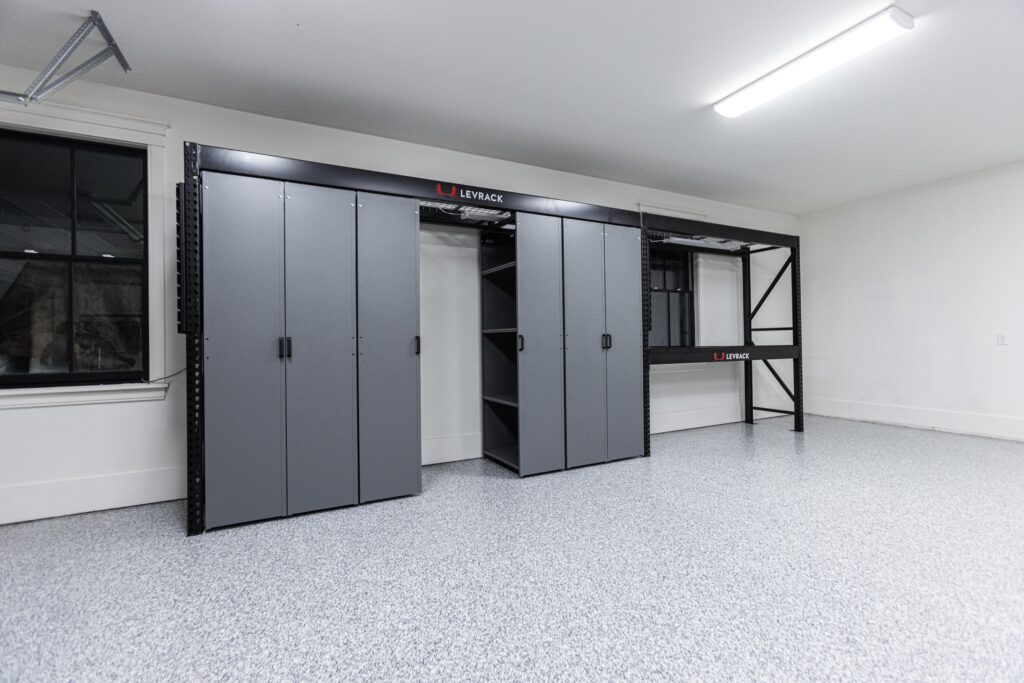
Levrack is essentially a mobile aisle shelving system and it completely transformed how we use our space. Instead of everything being out in the open (aka visual chaos that sends me spiraling and ends with me throwing everything away), the shelves slide. So, you can access what you need and then slide everything closed again.
Which means… I can hide alllll the mess. My dream.
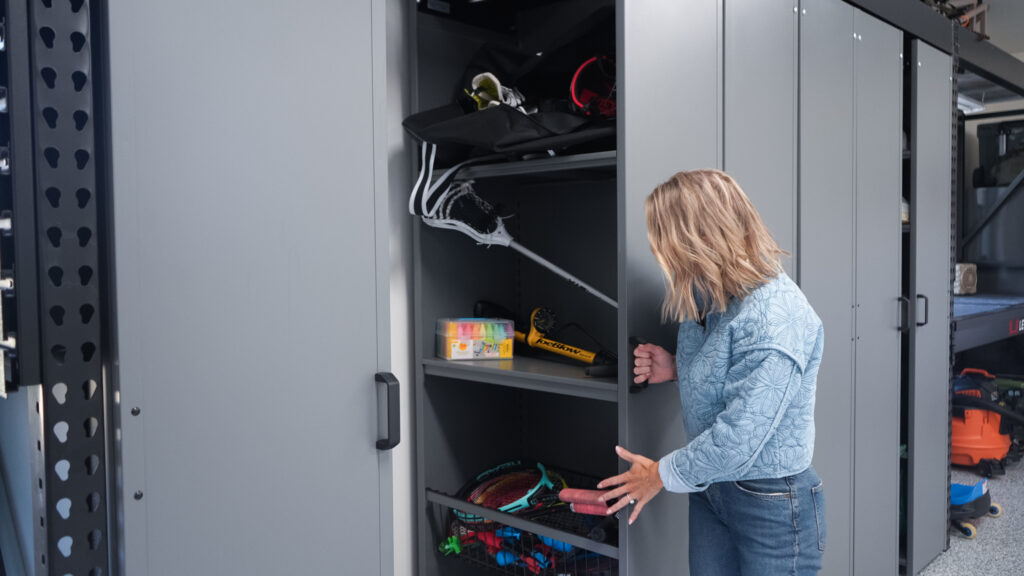
We customized ours so each person has their own section:
- Boone → sports gear
- Tim → golf equipment
- Us → hunting gear
- Plus a catch-all space for real life
Because of that, everything is easy to find and even easier to put away.
We also opted to add in a workbench- this can be utilized as extra storage and/or for an actualllll workspace- it’s really been handy and it looks so sharp too!
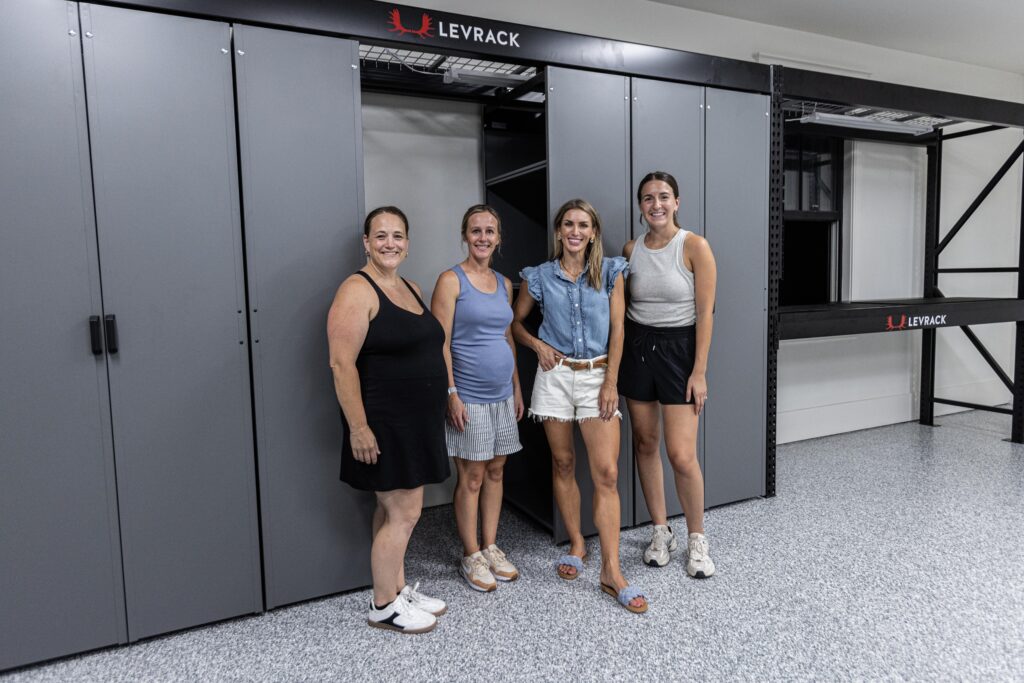
Also, I have to mention this: the install team was all women, which I absolutely loved. They were efficient, kind, and just so fun to work with. (Thanks, Levrack Fam!!)
And if you’re thinking you might need this in your life too (highly recommend), you can use code EVA10 for 10% off your Levrack system.
Wall Storage That Actually Looks Good
Next up: wall storage.
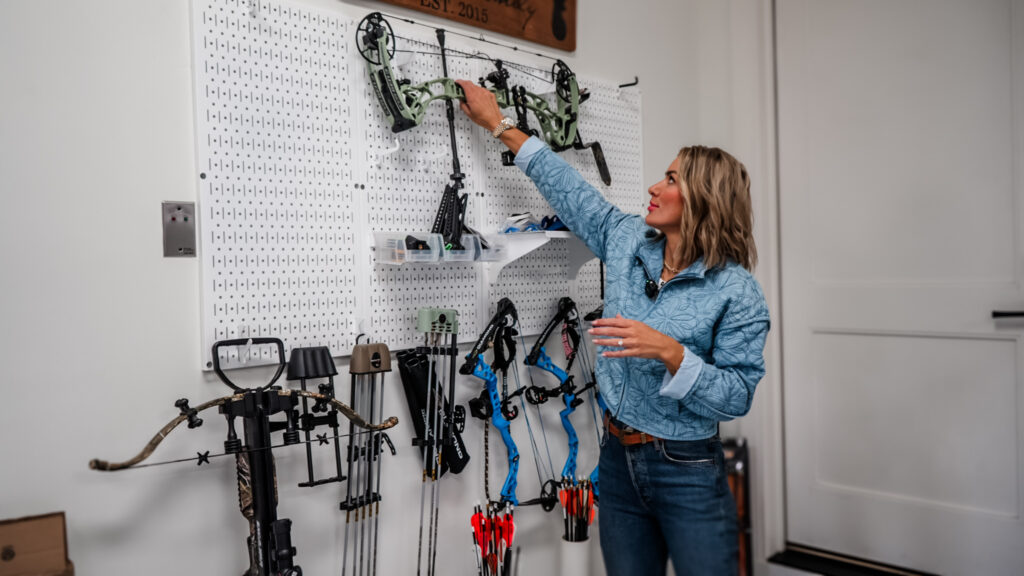
We used a Wall Control / Gun Pegboard System. It’s like your typical pegboards, but elevated and WAY more functional and durable. The complete system we got is the Archery Compound Bow Holder Wall Storage Organizer Kit from Gun Pegboard, then you can grab add-ons and accessories from Wall Control too! (Pssst- you can also add these on to your Levrack system!)
You can hang everything with these:
- Tools
- Rakes + shovels
- Garden gear
- Hunting accessories + Firearms
- Kids stuff- WHATEVER
We installed the Bow System right by our door, so we can grab our bows (plus eeevverything we need) and head out the door. The kids’ Dimond Bows hang right there, along with my Eva Gen 3 bow and alllll our accessories, so everything is visible, organized, and easy to grab and head out to target practice.
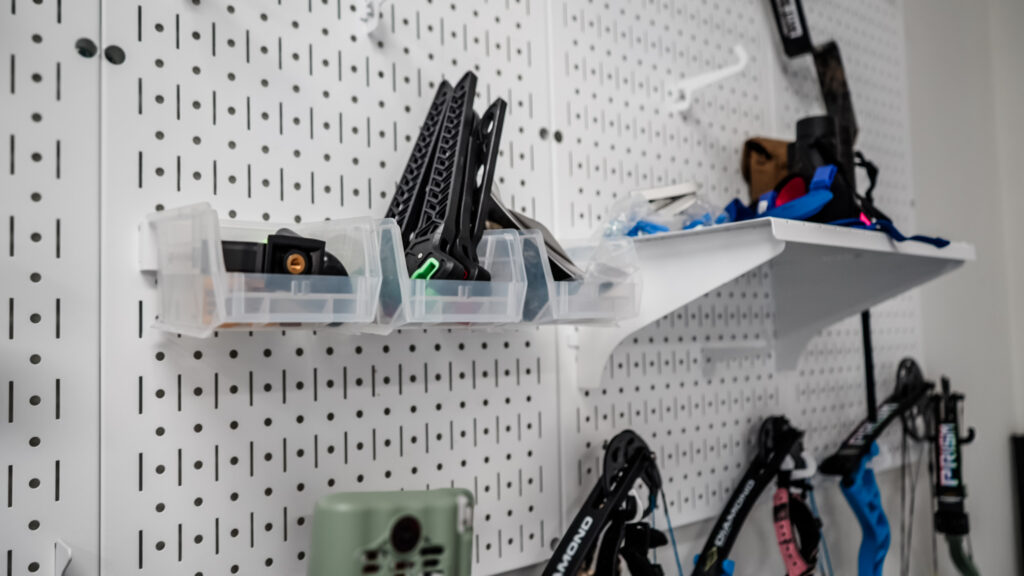
And even better? It’s completely customizable.
There are tons of hooks, shelves, and add-ons that snap right into place, so you can build it around your needs and change it later if those needs evolve.
We went with a ghost white finish, which keeps everything feeling bright, clean, and pulled together. But I also love that they offer other color options too, so you can match it to your space or go a little bolder if that’s your vibe.
And one of the coolest parts? You can even customize these panels with logos, which is such a fun way to make the space feel a little more personal (especially if you’re turning your garage into more of a workspace or hangout zone).
(P.S. if you’re thinking about adding this to your garage, use code EVA to save!)
Durable + Pretty Floors (Yes, these epoxy floors are both)
When it came to the floors, I had two must-haves:
- Durable
- Beautiful
Because why can’t a garage feel like part of your home?
We went with Stone Coat Epoxy, and I’m honestly obsessed with how it turned out. We chose the Stonehenge flake, which completely brightened up the space and made everything feel more finished and CLEAN.
One thing I love about Stone Coat Epoxy is how many color options they offer. Whether you want something light and airy like we chose, or darker and more dramatic, you can really customize it to fit your style.
We were lucky enough to have their VIP crew come out and install everything, which made the whole process feel seamless. We handled the floor prep with a local handyman beforehand, and then their team came in and truly worked magic.
And I have to say… watching them do it gave me a whole new perspective.
At first, I wasn’t totally convinced I could ever tackle something like this myself BUTTTT after seeing the process, I actually think if you’re handy and love a good DIY project, you totally could.
They even offer DIY kits, so it’s such a great option if you want to take it on yourself.
Of course, I was very happy letting the pros handle it this time, but I love knowing it’s doable either way.
And the best part? It’s incredibly easy to clean, which is non-negotiable in a garage. I’ve been begging Tim to epoxy the floors since we moved in, and I really wish I woulda put my foot down sooner.. 😆
If you do decide to go the DIY route OR even just start planning your own floors you can use code EVA for 10% off, which makes it a little more fun.

Final Thoughts
What made this makeover different is that everything is customizable which I love because no two families are the same.
You can build a system that actually works for your life. And because of that, the garage finally feels like an extension of our home, not just a place where things pile up.
Whether it’s:
- Kids’ sports gear
- Hunting equipment
- Tools and yard supplies
- Seasonal storage
If you’re staring at your garage wondering where to even start, this is your sign that it’s possible.
And once it’s done? You’ll wonder how you ever lived without it.
Brand Recap + Links & Codes
Stonecoat Epoxy : Code EVA
Wall Control / Gun Pegboard System : Code EVA
Levrack system : Code EVA10
Want even more home design inspiration?
I’ve rounded up all my home content in one easy spot. Click HERE for the fulllll list of my home blogs OR you can check out a couple of my series below! Ya never know when our next big project will be.. (Neither does my husband and I prefer it that way..😉)


-2")
Drop a comment & let me know what you think!